A Lightning-Quick Guide on How to Make Twitter and Facebook Lists for Your Apartment Community
Lists are a useful but extremely underutilized tool on social media. By creating lists, apartment social media marketers can slash off a huge chunk of the time it takes to find relevant content for their communities. But in order to do it, you must first know where to start. That’s why we created this quick guide outlining how to build lists on Twitter and Facebook.
Building Lists on Twitter
Once you’re logged into your Twitter account, you can find a link to your lists in one of two ways. The first way is to view your homepage (which opens by default) and click on “Following.” Once there, you’ll see another link to your lists. Alternatively, you could simply view your account’s profile page, which displays a link for your lists right next to your likes.
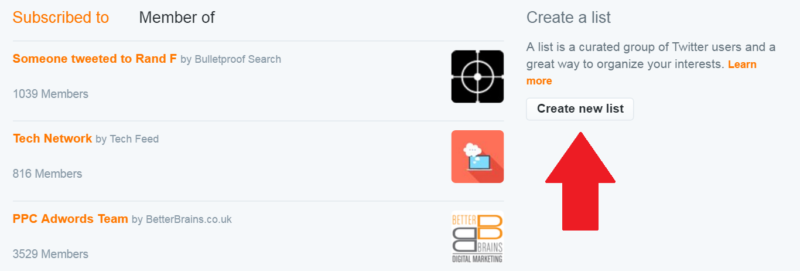
Step 1: Once on the list page, click on the Create a New List button, which is located on the right-hand column of the page.
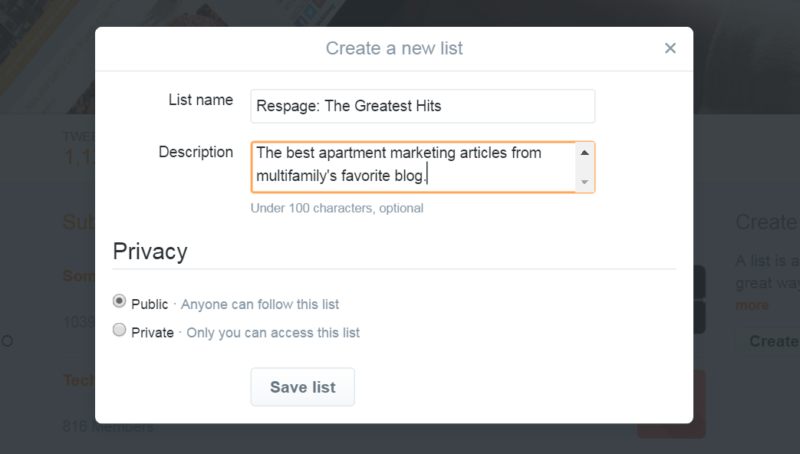
Step 2: After clicking on the Create a New List button, a pop-up screen will appear. You’ll need to fill out the forms and create a name for the list, as well as a description of what it’s for. The form will also ask you to choose whether you want your list to be public or private.
Step 3: Your list is technically complete after the first two steps, but there won’t be anyone on it! To add other Twitter users, simply search for them or add them. You can also add your current followers, or the people who you follow, to your list.
Note: Twitter users will be notified when you add them to a list. They’ll also know the name of the list.
Building Lists on Facebook
Although slightly more complicated than Twitter lists, Facebook lists are still fairly simple to make. Start by logging into the admin account for your Facebook page.
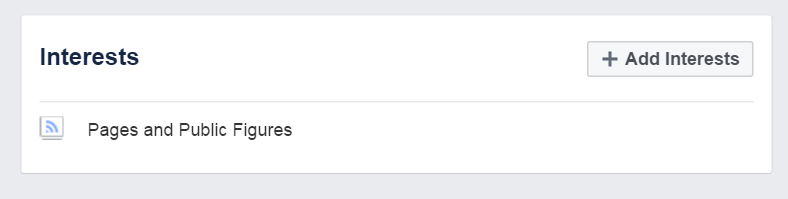
Step 1: From the homepage of the admin account, click on interests, which can be found on the left-hand side of the screen.
Step 2: Once you’re on the Interests page, click on the Add Interests button. You’ll then be directed to a new screen which displays an “Create List” button. Click on it.
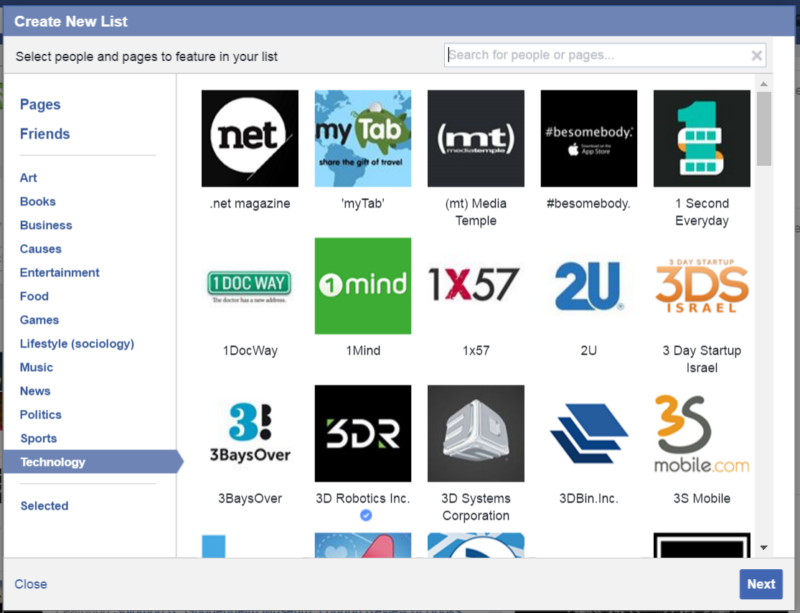
Step 3: The Create List button will prompt a pop-up window. From that pop-up window, you can add users and pages to your list. Add the users and pages that you want, then click next.
Step 4: You’ll be directed to a new screen where you can create a title for your list and mark it as private or public. Choose your options, click save, and you’re finished.
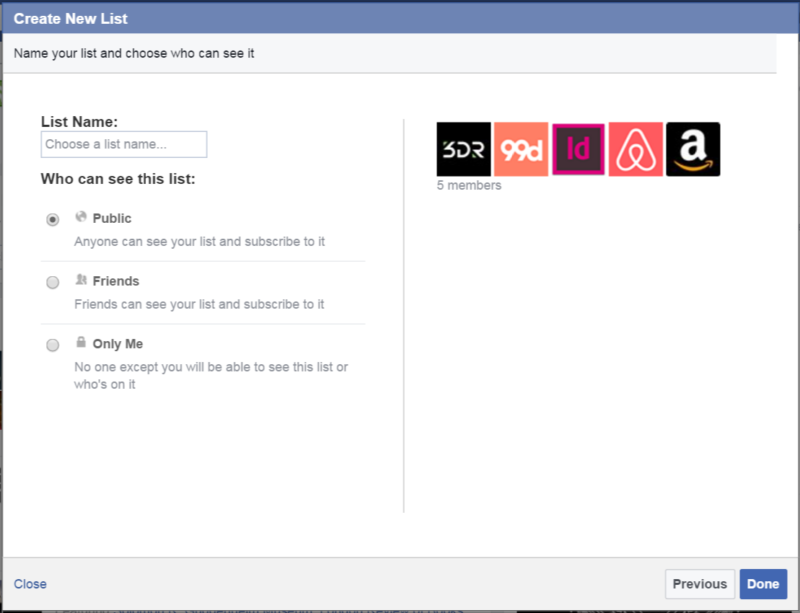
Note: Facebook lists do not display every post from the users and pages that you follow. You will have to manually view the profiles and pages if you want to see earlier posts on a timeline.
Now What?
Now that you have your lists, you need to know how to use them. Check out our guide on creating interesting and relevant social media pages for apartments to learn more!